
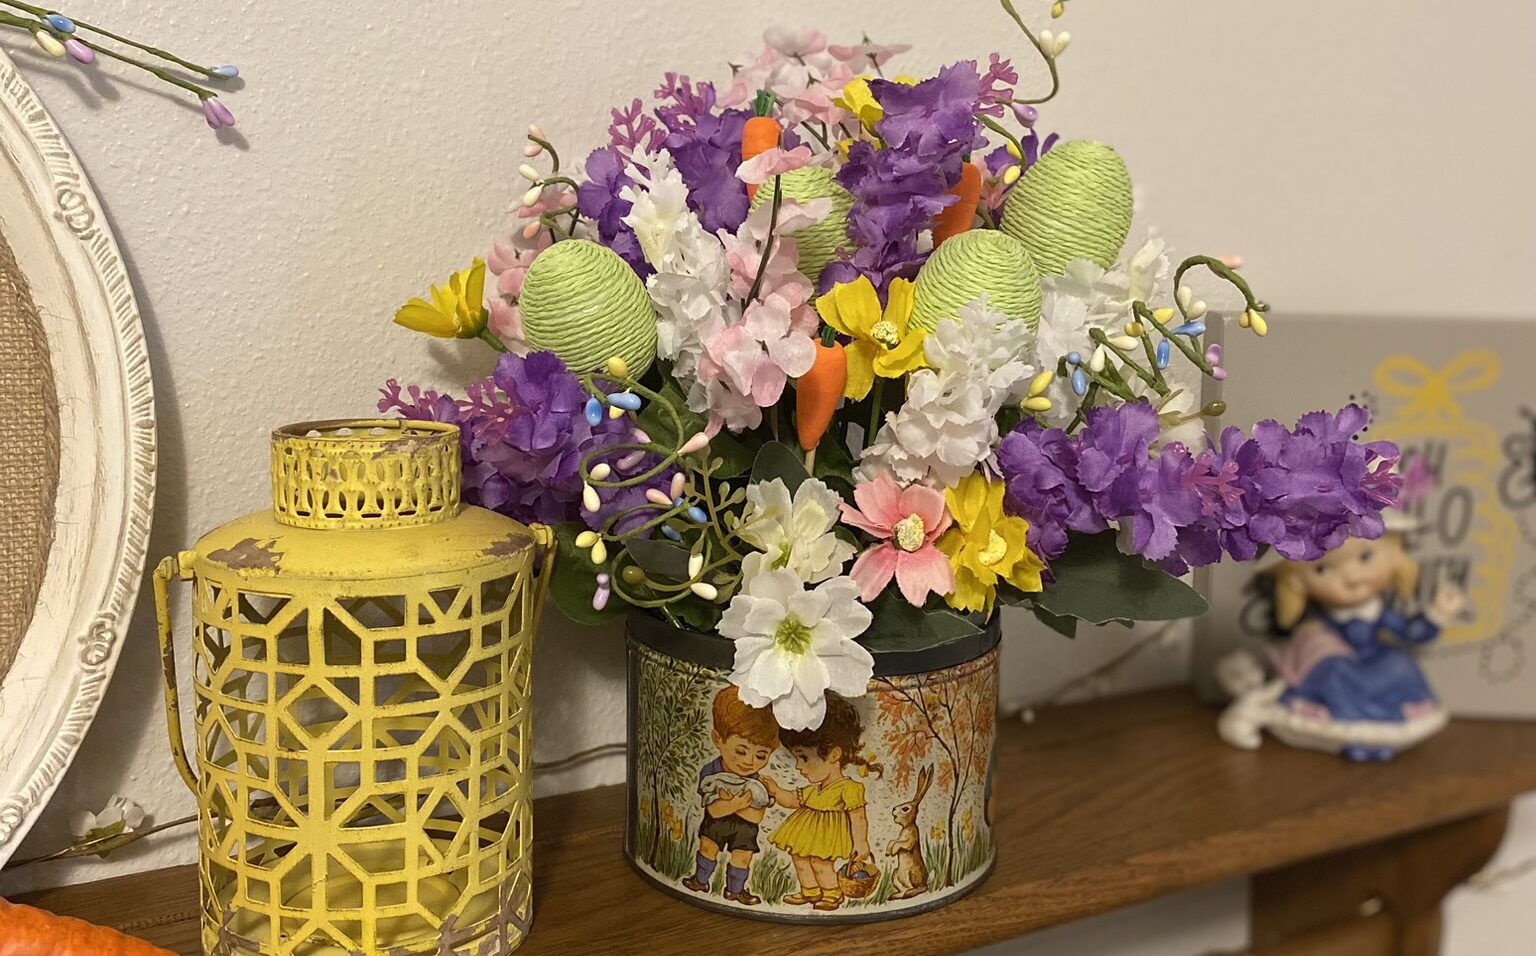
Make an Easter Arrangement in a Vintage Tin: AKA Grandma’s Button Box
Last year I had the idea to make an Easter arrangement in a vintage tin: AKA Grandma’s button box. Grandma’s button box was always like a box of treasure. As a child, (and an adult lol) I could spend an hour or two looking at each wonderful piece that Grandma had deemed worthy of keeping in her button box and imagining the story behind it. Her box was actually an Easter candy tin with a plastic lid. I remember exactly where she kept it… in the extra bedroom on the chest of drawers atop one of her pretty doilies. When she passed, it was one treasure that was passed to me.
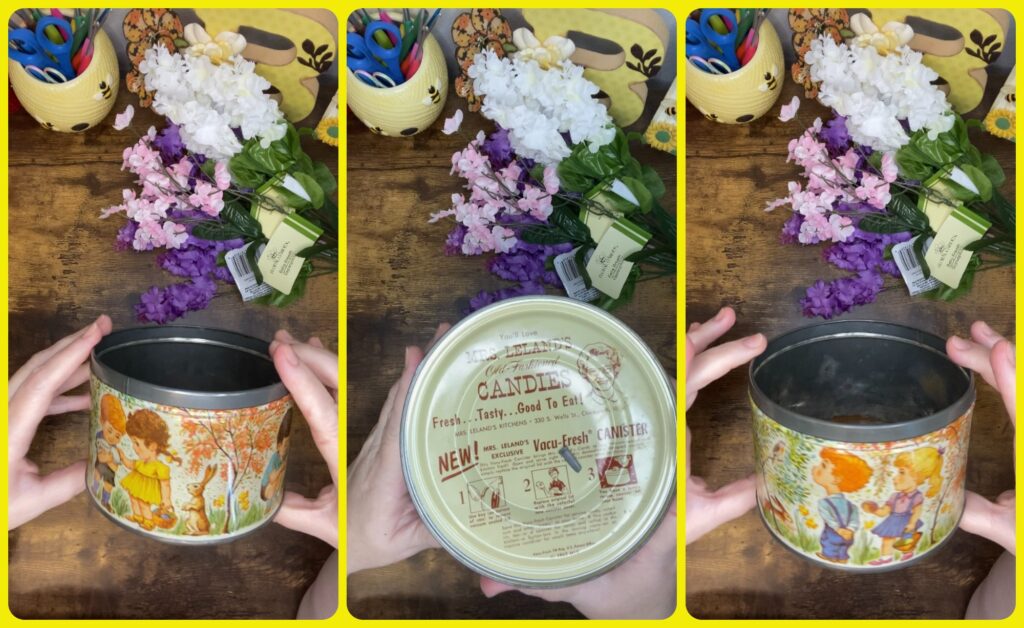
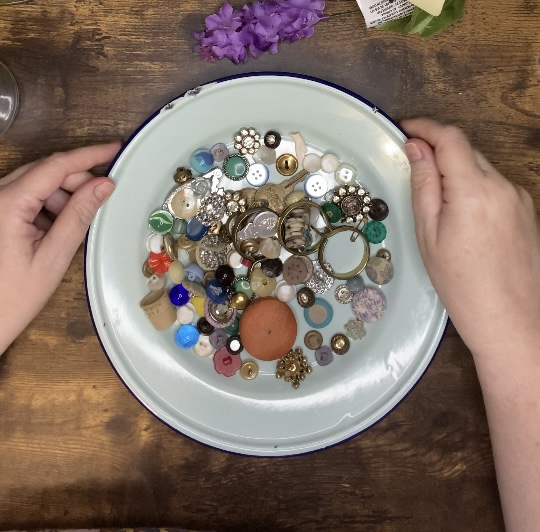
The treasures in her box varied from the obvious buttons to stray pieces of jewelry, a porcelain hand broken off of a figurine, unique sewing notions and…. a bullet. Yep, a bullet. I never did find out the story behind that… or if I did, I have sadly forgotten.
Through time, the plastic lid cracked and I could no longer use it as a button box. So I decided to only keep a few of her treasures and keep the tin for something else.
An Easter Arrangement
Since this tin had an Easter print on it, of course I had to use it for Easter. I did try a “nest” in it once with Easter eggs, but decided I didn’t like it. It had rusted a bit on the bottom so candies or treats were out of the picture. So last year I decided to make a flower arrangement in it.
This year while at The Dollar Tree, I picked up some lilac stems, baby breath and egg picks that I thought would be perfect. My Grandma loved purple and she loved lilac. I already had some other supplies on hand: Easter themed pip berry garland and odd silk flowers stems.
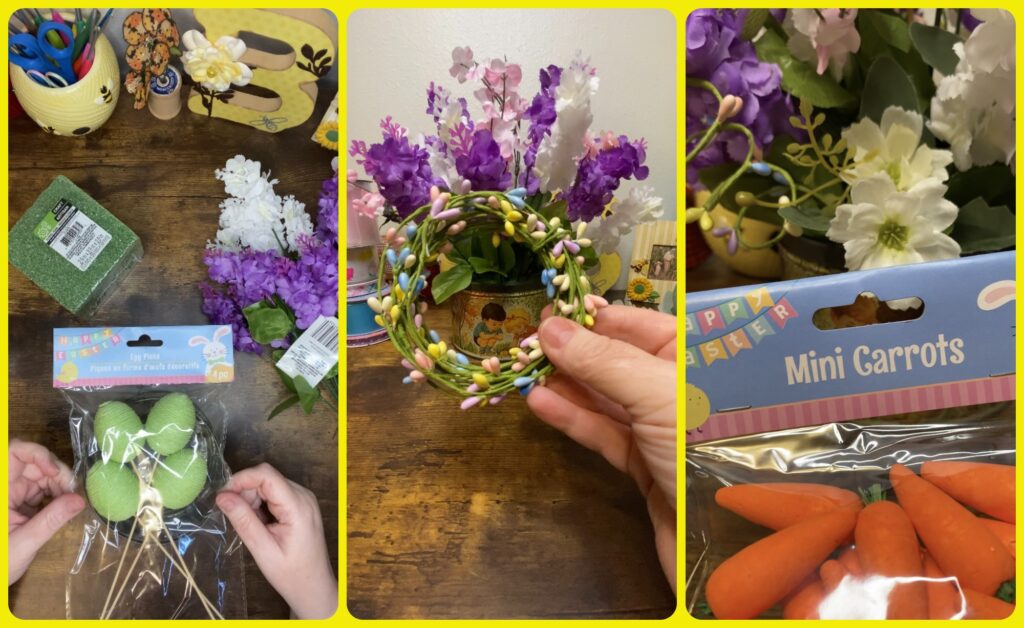
My foam square was a bit big for the tin, so I thought I would have to shave off some of the corners. Turns out, I just placed it on top of the tin, pushed it down and it shaved itself! To prepare my flowers, I used my wire cutters to cut them all off the bush into single stems. Then I just built my arrangement starting in the middle and making my way out. (I am not in any way a florist… I have no idea of the right way to do this!) After I placed all my stems I had gotten at The Dollar Tree, I used the odd matching flowers I had on hand to fill in where needed.
Next I added in the egg picks. I only used 3. I really, really like the look of these!
With the pip berry garland, I decided to make some “curly Qs”. I just wound the garland around my Daddy’s cane (but you could use a broom handle) until I had the length I wanted. To add it to the arrangement, I cut a little extra length and then wrapped it around excess pieces I trimmed from the floral stems, or I wrapped it around stems already in the arrangement. I love the extra character it gave to the arrangement!
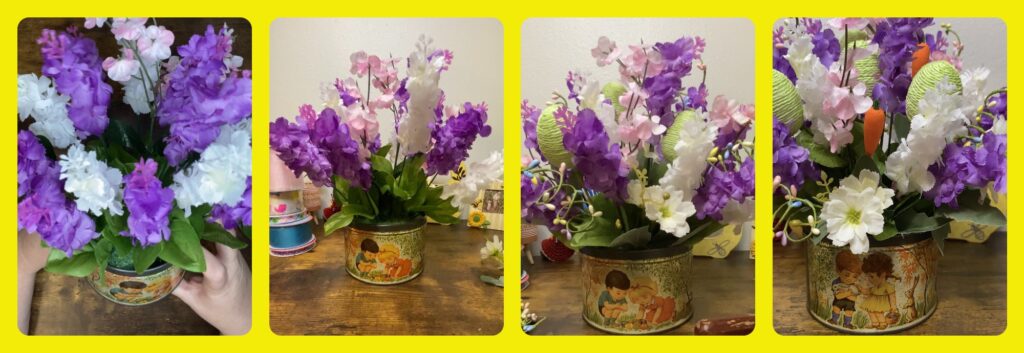
But it needed a little something more…
I found sweet little foam carrots also at The Dollar Tree and thought they would look so cute in this arrangement! Especially since I love bunnies and have a bunny Easter theme… and there are bunnies on the tin. Bamboo skewers were the perfect pick to put the carrots on and them place them in the arrangement.
I realized that the arrangement needed some yellow to help balance the orange carrots with the purple, pink and white. No luck finding what I wanted at The Dollar Tree, but I did score these cosmos stems at Dollar General! I believe they added the perfect balance for the arrangement.
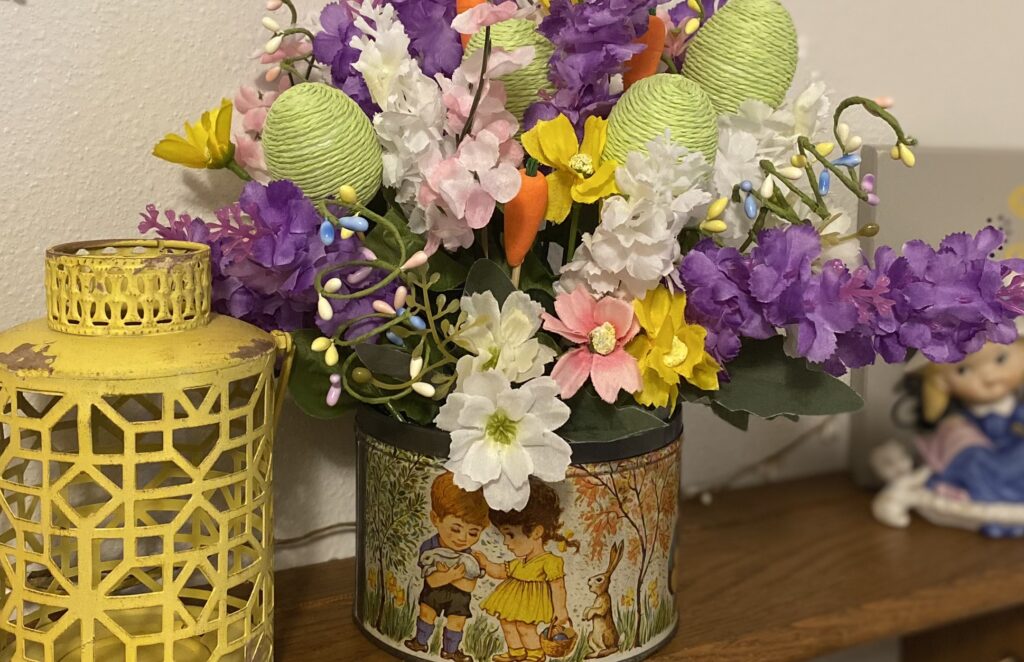
In Conclusion…
If you like the carrots in the featured photo at the top of this post, please read my blog post on how I gave Dollar Tree carrots a more rustic, earthy look.
Hopefully this post has inspired you to make an Easter arrangement in a vintage tin… or an arrangement for any occasion! I also hope you have enjoyed this little story about my Grandma’s button box. I would love to hear your stories as well. Please comment below if you have a button box story to tell!