How to Make your own Amigurumi Sticks
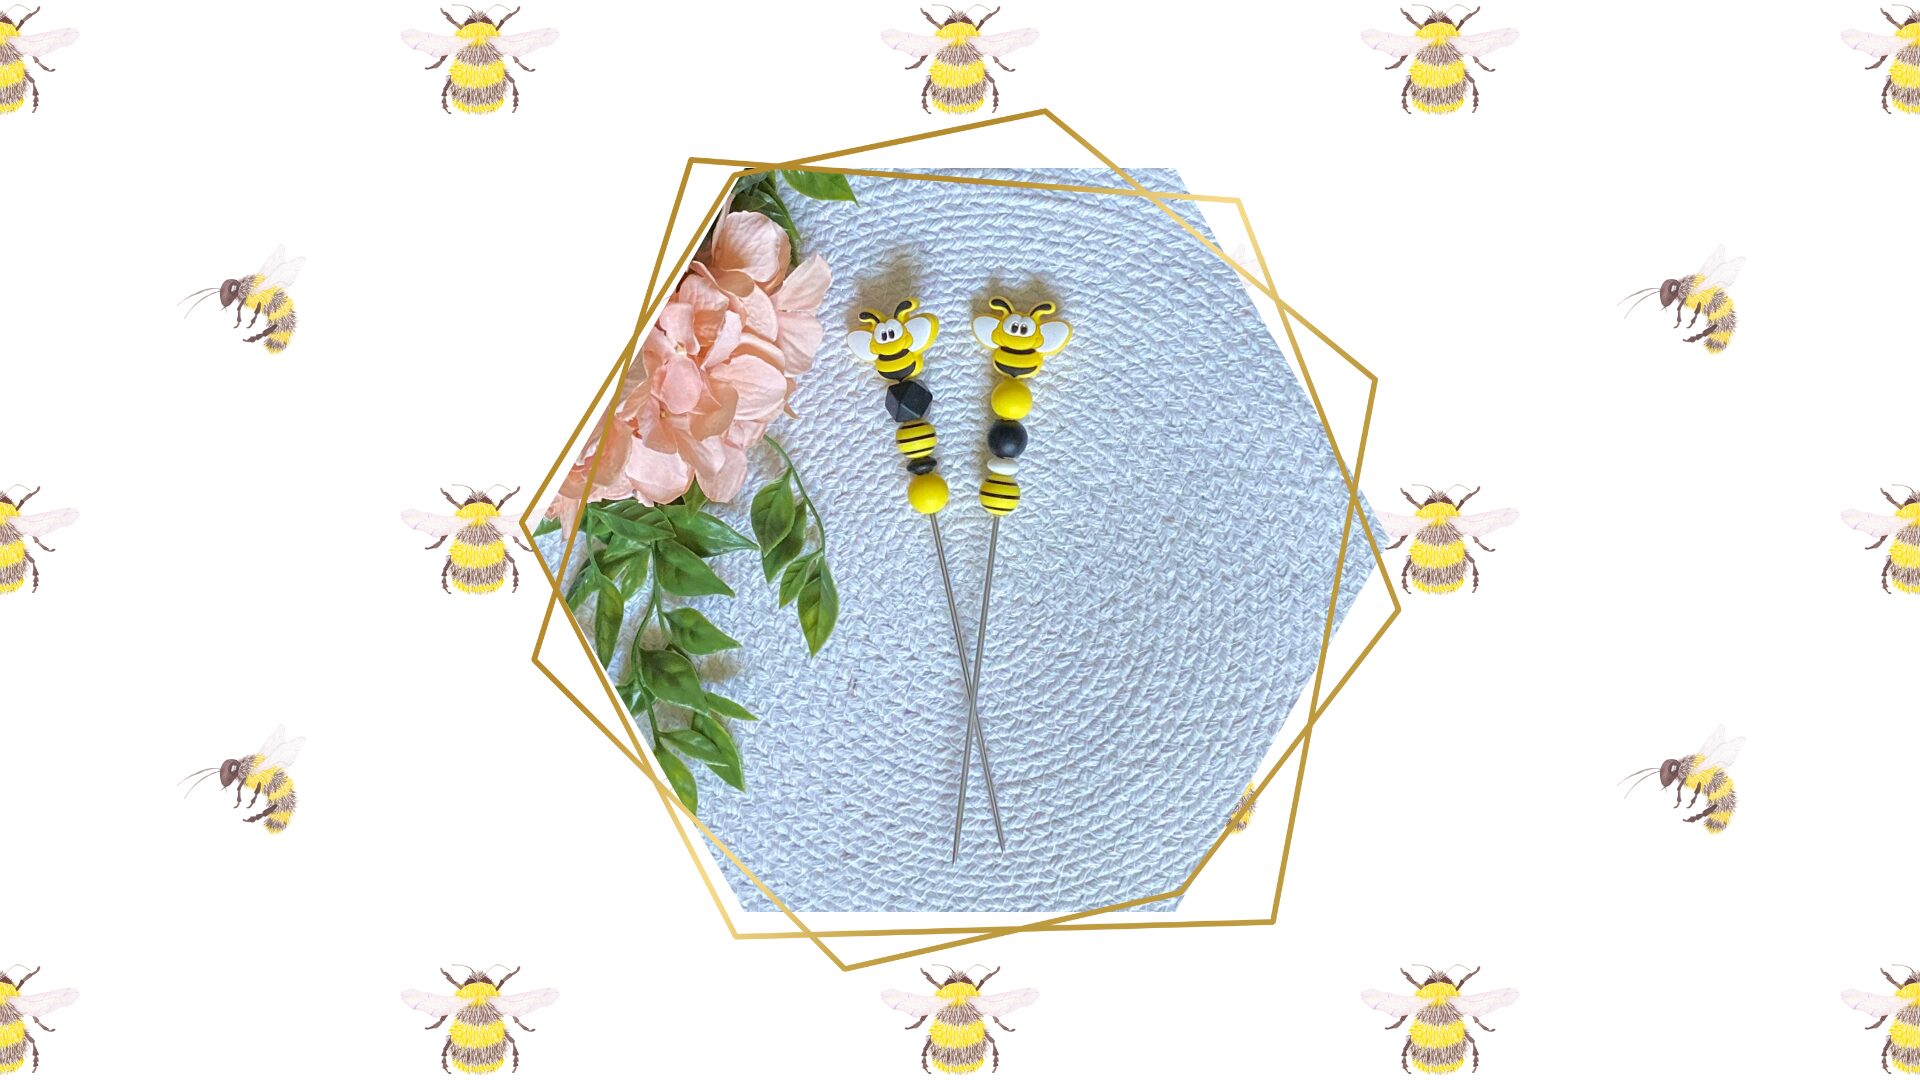
If you are a crocheter of amigurumi, you have probably heard of these sticks. If you haven’t, Amigurumi sticks, sometimes called sewing sticks or assembly sticks, are a handy tool crocheters use to keep arms, legs, and heads in place while sewing them onto stuffed animals or dolls. They save time, reduce frustration, and help you get perfectly placed pieces every time.
I had seen several people on Instagram using them, but when I checked out the maker’s sale pages, I realized I really couldn’t afford them. After looking them over, I realized I could probably make these. So I gave it a try and found out just how easy it is to make your own amigurumi sticks!
Supplies Needed
- knitting needles
- silicone beads
- strong adhesive glue (I used E6000)
- baby wipes
- marker
- optional: a tray to hold the beads
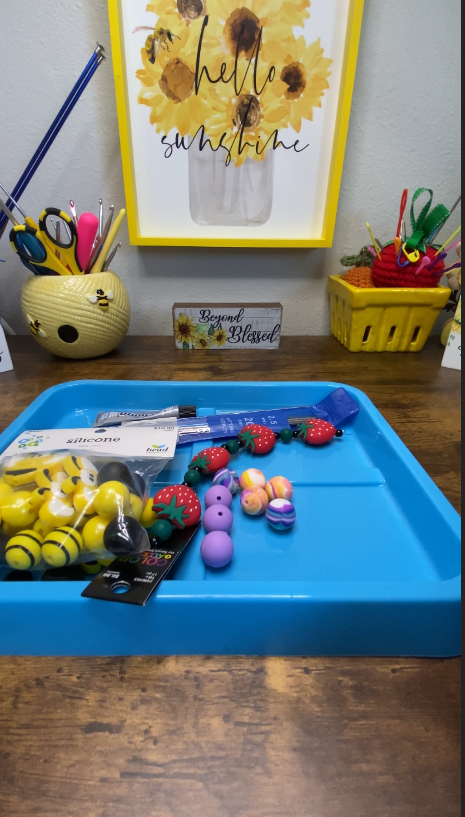
Knitting Needles
You will need knitting needles that are small enough to fit into the beads. I got 2.75mm needles (double point) that are 20cm long. These make shorter sticks, but most of my projects are on the smaller size. I bought my knitting needles off of Aliexpress last year before the tariffs. They were very cheap for a package of 5 (under $2!) A friend of mine uses 3.5mm and they worked well for her. Just be careful if you order them online. Pay attention to the length. I bought some off of Walmart and when I picked them up, they are soooo long!!! Ooopsie!!
Silicone Beads
I like to use silicone because they “give”. That way they can stretch a bit to fit over your needles. I bought a package off of Aliexpress that had a mixture of bees and yellow and black beads that included spacer beads and hexagons. I loved that variety. I had to buy some recently to make some for a giveaway and found a similar bee kit at Hobby Lobby, but it only had the large bees and round beads. AND, they were a lot more expensive even on sale. I have also found silicone beads at the Dollar Tree. Another option is looking in the jewelry section at your local craft store. I found some really cute strawberry silicone beads in the bracelet kit section that were threaded onto a wire with other beads.
Strong Adhesive
To hold the beads onto your needles, you will need a strong adhesive. I prefer to use E6000. If you don’t use this glue very often, I suggest buying a package of smaller tubes so it won’t dry out.
Other supplies
You will want some baby wipes handy for ooopsies! I had to wipe glue a few times. The marker is to mark your needle. Also handy is a small tray for the beads to keep them from rolling away. I found mine at the Dollar Tree!
How to make your own amigurumi sticks
This is so easy, it might be a crime.
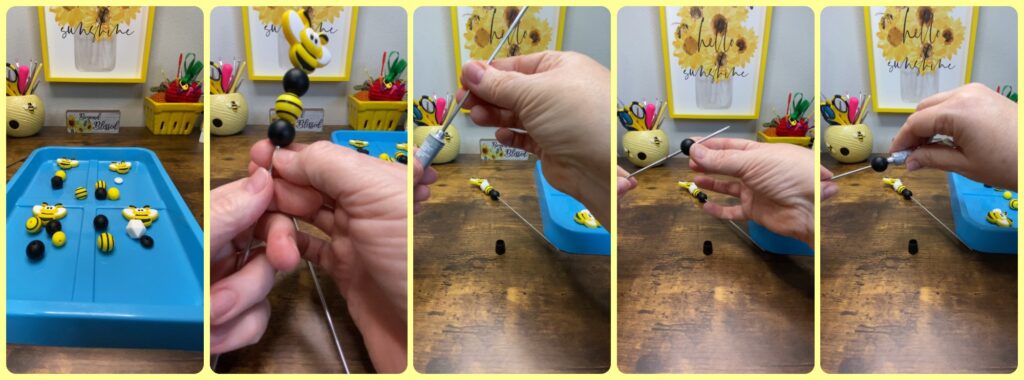
- Decide how you want your beads to look on your needle. Put your focal bead on top and then taper down. Make sure not to put too many… you want plenty of room on your stick to insert into your amigurumi to hold it in place.
- Once you have your beads on your needle, you will need to mark your needle under the last bead. To do this, hold your fingernail right under that last bead and then push your beads up a bit. Use the marker to mark the needle right above your fingernail.
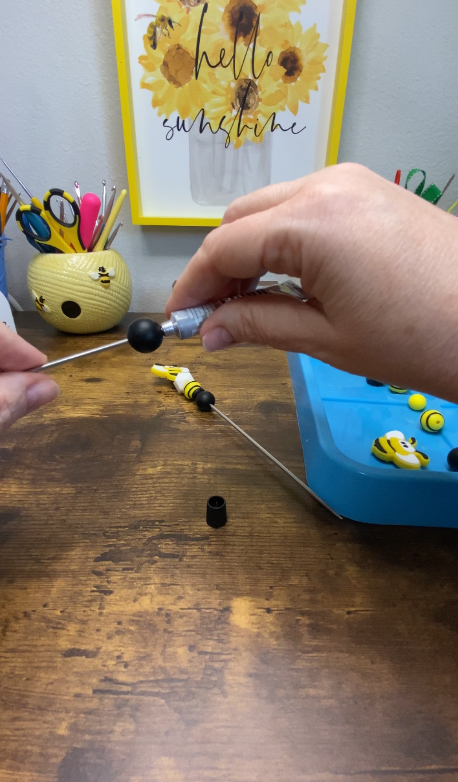
- Next, remove all the beads from that needle. Grab your tube of glue and insert your needle into it to the mark. Twist the needle in the glue tube to coat it well and remove. Insert that last bead over the top and push it down to just cover the mark. If you squish a lot of glue down, either wipe it away, or try to get a lot of it onto the next bead. You will then repeat this step with each bead, making sure to insert the needle into the glue tube each time. On your last bead (the focal bead), make sure it covers the tip of your needle! If not, just push your beads up a bit so that the needle gets covered. You don’t want the tip of that needle to poke you when you use your sticks!
- Lastly, just set them aside and let them dry completely. I usually let mine dry overnight.
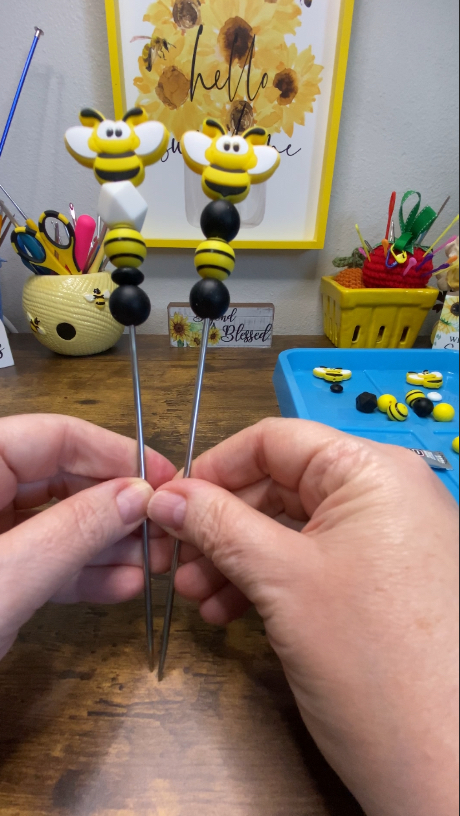
That’s it!
Now you know how easy it is to make your own amigurumi sticks! Not only are they budget-friendly, but you can customize them with beads that match your personality or project theme. If you make some, I’d love to see—tag me on Instagram @thewhimzb so I can share your creations!
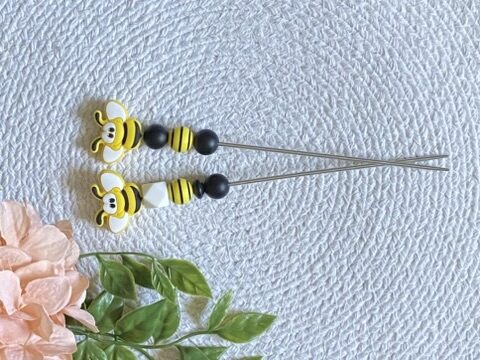
Click here for free crochet patterns!

