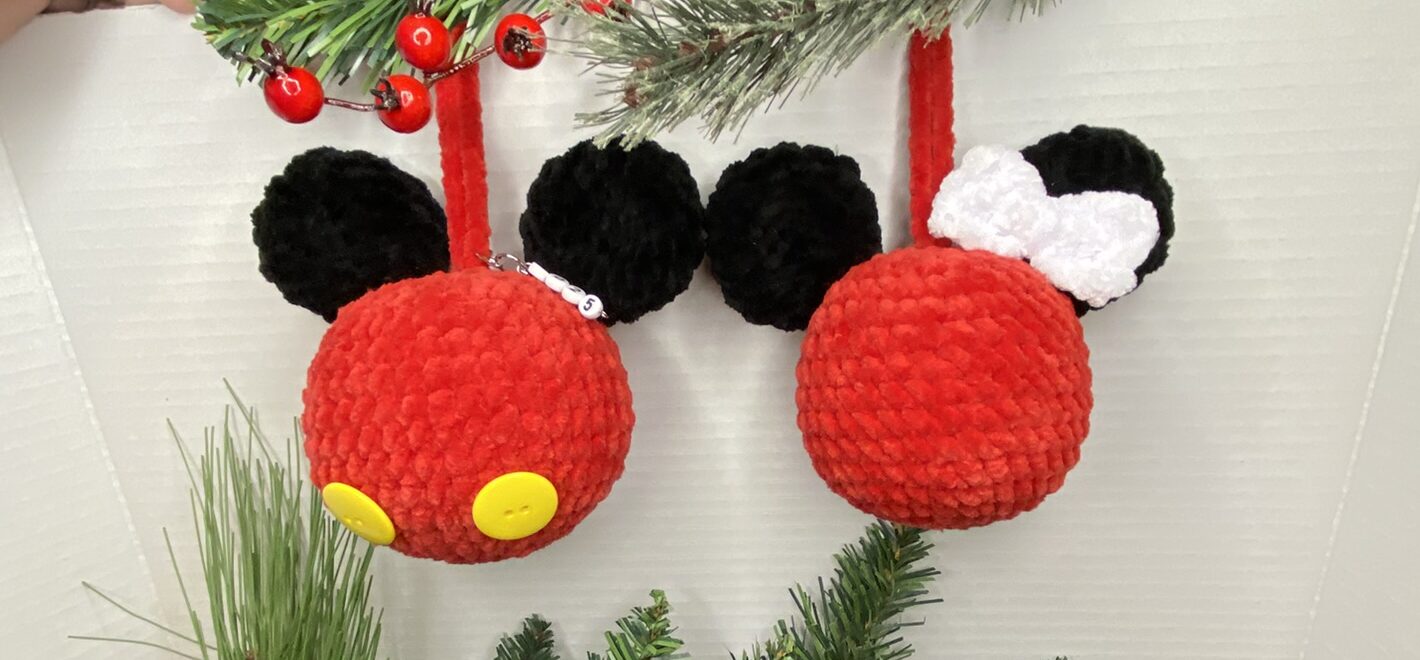
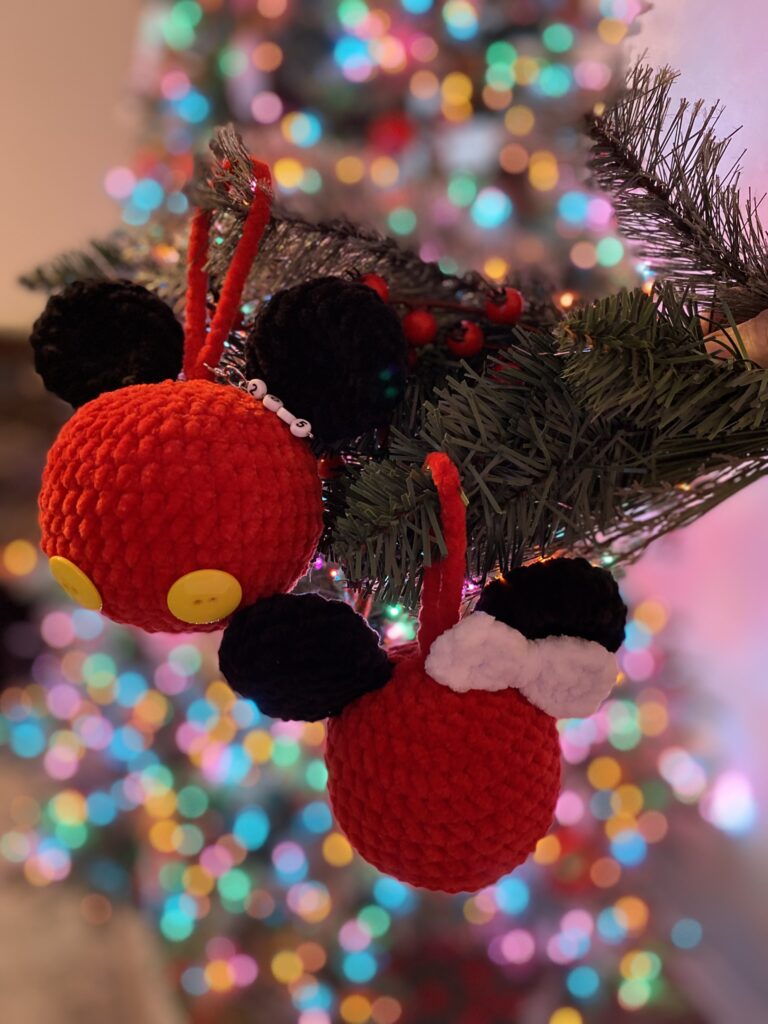
Magical Mice Crochet Ornaments – Quick, Beginner-Friendly Pattern
If you’re looking for a quick and magical holiday project, these Magical Mice Crochet Ornaments are the perfect make! After seeing how incredibly popular my free Mice Pumpkins pattern has become (it’s the most-viewed pattern on my blog!), I knew I had to design a festive version for the Christmas season. This beginner-friendly, low-sew ornament works beautifully with any yarn, making it a fun stash-buster and a fast, satisfying project. Whether you sell at craft fairs, need a last-minute Christmas gift, or love creating handmade treasures for your tree, these adorable mice deliver a touch of whimsy that Disney lovers will instantly recognize. In my own home, I gift each child and grandchild a handmade ornament every year, and these charming little mice are officially joining our tradition.
Before you begin…
- Pattern is worked in the round unless noted otherwise. Use a stitch marker at the beginning of each round.
- Magic Rings can be tricky with plush yarns. I personally always use the “chain 2 method”.
- I recommend the Yarn Under/ Yarn Over method for this project. If you use a different method, your finished project may look different than mine.
- To avoid coning at the ends of the ornament ball, give your work a stretch after the second round.
Supplies
- Yarn: your choice in
- Red
- Black
- White
- Hook: appropriate size for your yarn choice
- Basic amigurumi supplies
- 2 yellow buttons
- optional: hot glue
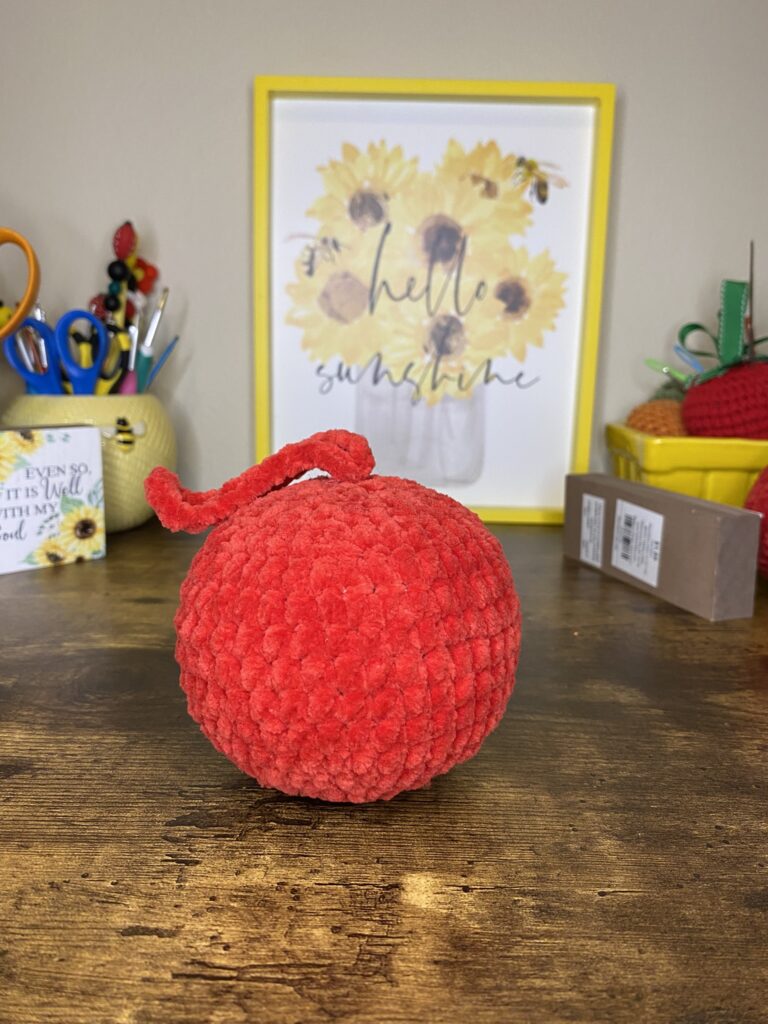
Ornament Ball
- R1: With Red, MR 8 SC (8)
- R2: INC around (16)
- R3: (SC, INC)x 8 (24)
- R4: (SCx2, INC)x 8 (32)
- R5: (SCx3, INC)x 8 (40)
- R6-12: SC around (7 rounds of 40)
- R13: (SCx3, DEC)x 8 (32)
- R14: (SCx2, DEC)x 8 (24)
- R15: (SC, DEC)x 8 (16)
- For a textured ball: Turn your work inside out and continue, working R16 in the BLO.
- Start stuffing. You want the ball stuffed firmly, but do not overstuff and stretch your stitches.
- R16: DEC around (8)
- CH25-30 and SS into the first ch creating the hanging loop. Cut a tail and weave through the FLs of R16. Finish stuffing & pull closed. FO and hide end inside ball.
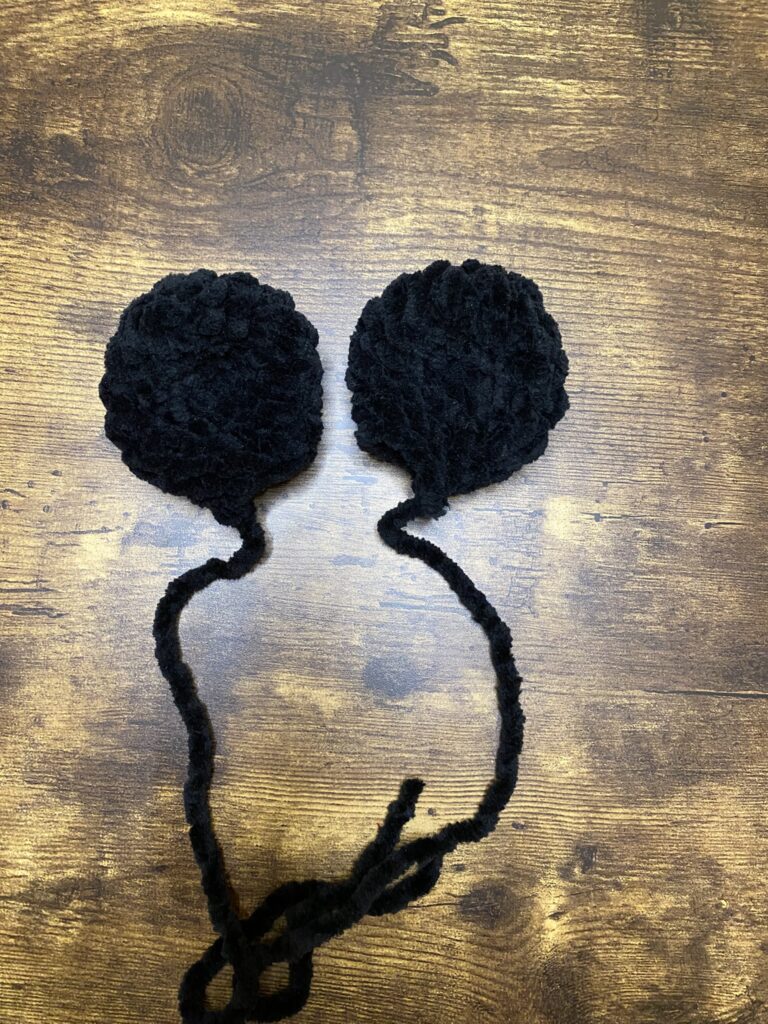
Mouse Ears (make 2)
- R1: With Black, MR 8 sc (8)
- R2: (SC, INC)x 4 (12)
- R3: (SCx2, INC)x4 (16)
- R4: (SCx3, INC)x4 (20)
- R5: SC around (20)
- R6: (SCx3, DEC)x 4 (16)
- R7: (SCx2, DEC)x 4 (12)
- R8: (SC, DEC)x 4 (8)
- FO leaving a long tail for sewing.
- Ears are not stuffed.
Assembly
- Press the sides of the ear together with the last st on the outside edge.
- Use your thumb to press an indention into the center of the ear.
- Attach the ears with pins to the ball where the inside edge of each ear is one round down from the top. Make sure to center your hanging loop.
- Using a yarn needle, sew the ears onto the ball by sewing through the 4 sts on one side of R8 and then sewing through the 4 sts on the other side of R8. This adds stability to the ears.
- Take the tails through to the back of the ball, coming out in the same st.
- Tie ends together in a double knot, then take each end back through the ball and exit at different places.
- Pull taut and trim, hiding ends inside the ball.
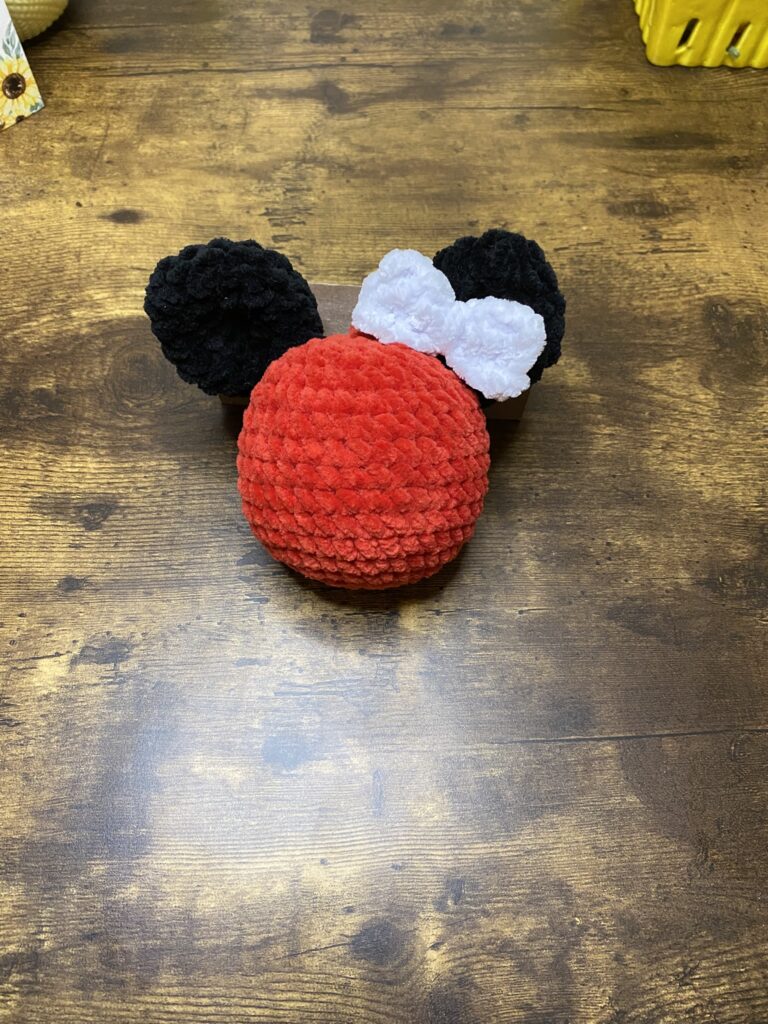
Embellishments
For the boy mouse, sew or hot glue 2 yellow buttons at the front, bottom of the ornament ball.
For the girl mouse, crochet a bow and sew or glue it on where it will be between the ears and ornament ball. If you want you can also make a ribbon bow or just use ribbon to wrap around the center of the bow.
Bow
- Ch10. Starting in the second ch from hook: SC down the ch. Ch1, turn (9)
- In BLO: SCx4, SS, SCx4, Ch1, turn (9)
- Repeat for 2 more rows. Do not ch and turn on the last row.
- Cut long tail and weave through to the center. Use the tail to wrap around the center of the bow a few times to gather it.
- Attach the bow to the mouse using the rest of the tail or FO and hot glue it on.
- Weave starting tail into bow and trim.
I hope this Magical Mice Crochet Ornament pattern brings joy to your holiday season. With their quick construction, customizable yarn choices, and gift-ready charm, these adorable mice are perfect for makers of all skill levels. Add them to your craft fair lineup, tuck one into a stocking, or start (or continue) your own yearly handmade ornament tradition. However you use them, these sweet little mice are sure to bring smiles and a sprinkle of magic to any Christmas tree.
For all things Christmas on my blog, click HERE.