
How to Make a Little Mushroom – Free Mushroom Crochet Pattern
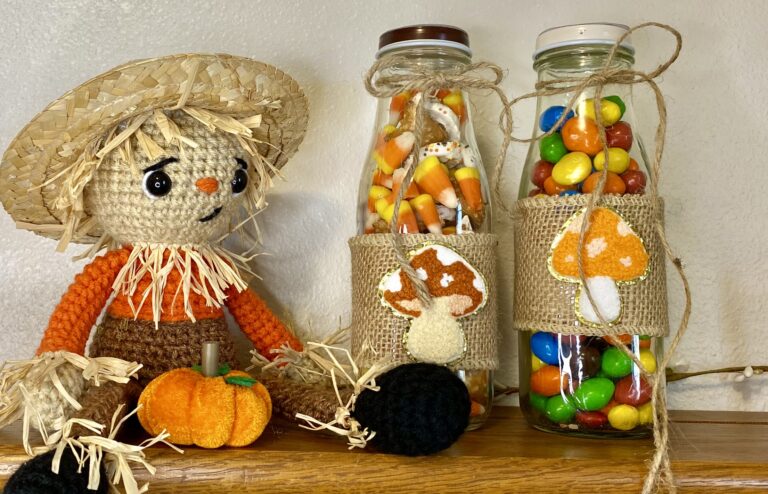
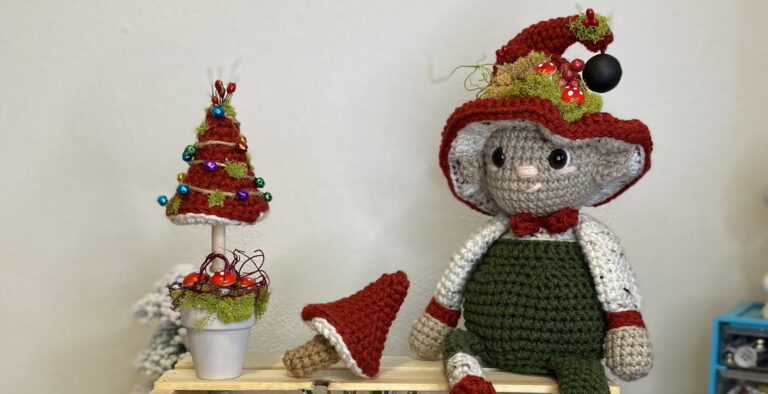
Do you love mushrooms? I’ve always been a fan of the little red ones with white spots—they’re just so “pixieish”! While designing my Woodland Elf, I pictured him holding a tiny mushroom Christmas tree, so of course I had to design a mushroom pattern. Can’t you just see a group of these hanging on a garland, or used as keyrings, pincushions, or even bowl fillers? I’m excited to share this free mushroom crochet pattern with you, and I hope you enjoy making it as much as I enjoyed designing it!
This pattern was designed by me, the WhimZ B and is protected by copyright and cannot be sold or reproduced by any means. This pattern may not be shared (the written pattern or a video tutorial), but the link to this website can be. Do not share my photos, but please share photos of your finished project. Selling finished items is permitted and encouraged. Please give credit for the pattern to me when sharing on social media.
Supplies:
- Yarn: 4/ medium weight in Red, Off-White, and Brown
- F (3.75mm) hook
- Stitch marker
- Yarn needle
- Stuffing
Abbreviations:
- MR: magic ring
- RND(s): round, rounds
- SC: single crochet
- INC: increase
- SlSt: slip stitch
- HDC: half double crochet
- DEC: decrease (use the invisible decrease)
- FLO: front loops only
Pattern:
Pattern is worked in the round, using the yarn-under method.
With Red
R1: MR 6 SC (6)
R2: SC around (6)
R3: *SC, INC* around (9)
R4: SC around (9)
R5: *SCx2, INC* around (12)
R6: SC around (12)
R7: *SCx3, INC* around (15)
R8: *SCx4, INC* around (18)
R9: *SCx5, INC* around (21)
R10: *SCx6, INC* around (24)
R11: *SCx7, INC* around (27)
R12: (loosen tension) SC around (27)
With Off-White
SlSt around in the lower back loops of R12. Pull red tail inside and tie with the end of off-white. Trim and tuck inside.
R13: HDC around in the back loops of the SlSt (27)
R14: (SC)DEC X13, SC in the last st. (14)
Stuff the point of the mushroom.
R15: DEC around (7)
With Brown
R16: SC around in the FLO of R15 (7)
R17-21: SC around (5 rnds of 7)
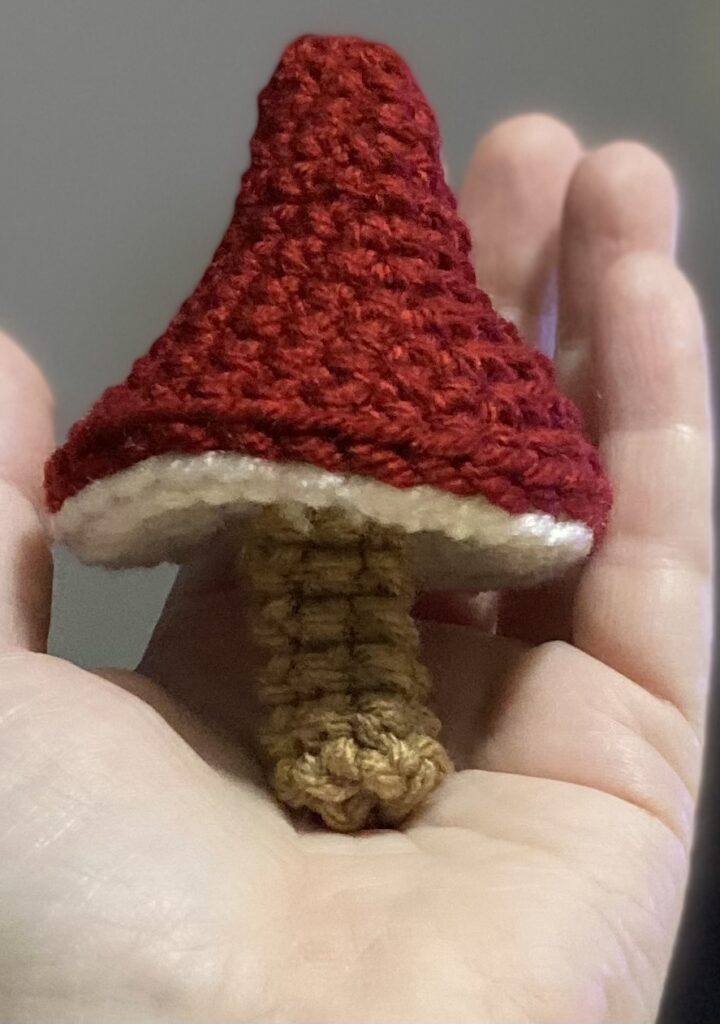
Cut a long tail. Using the yarn needle, weave tail through the front loops of R21 and pull to close. Insert still-threaded needle up through the stem and mushroom to the top. Pull yarn so the stem pulls up into the indented mushroom. Insert needle back into the same hole, but a little over and pull yarn back through the stuffed mushroom and stem. Tie off.

You now have your own little mushroom!!
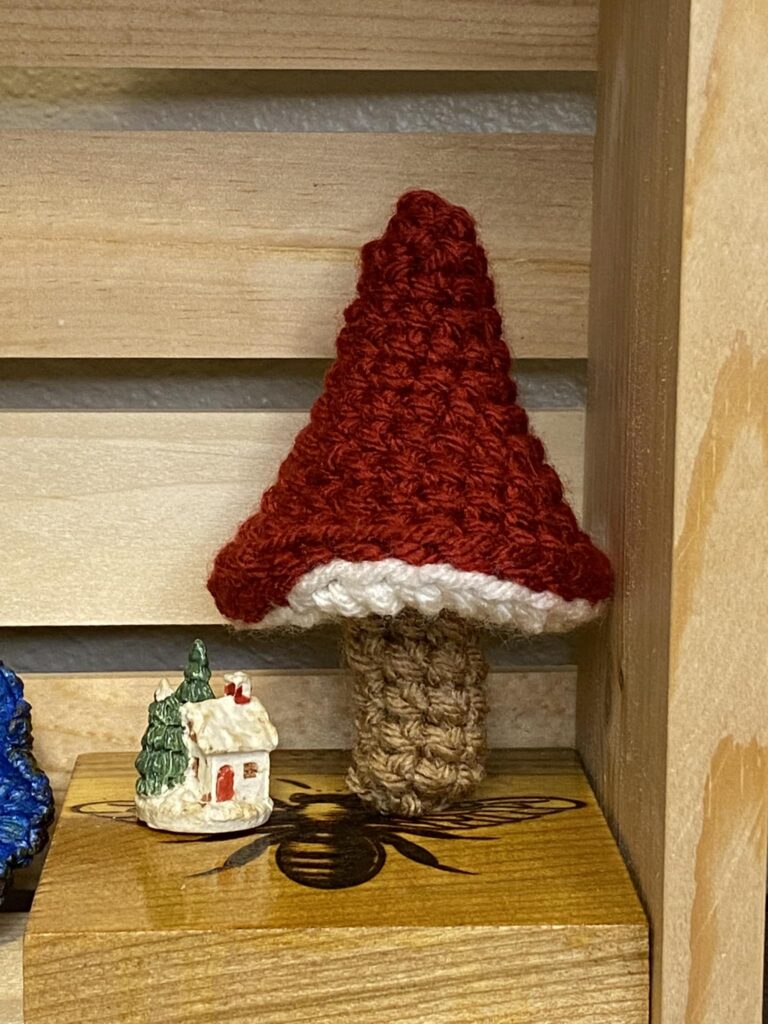
Whether you make just one or a whole cluster, these little mushrooms are sure to bring a touch of whimsy wherever you use them. From garlands to pincushions to bowl fillers, the possibilities are endless. I hope this free mushroom crochet pattern sparks your creativity and you will share your makes with me on social media!!
Don’t have time to make it right now? Be sure to pin it for later.
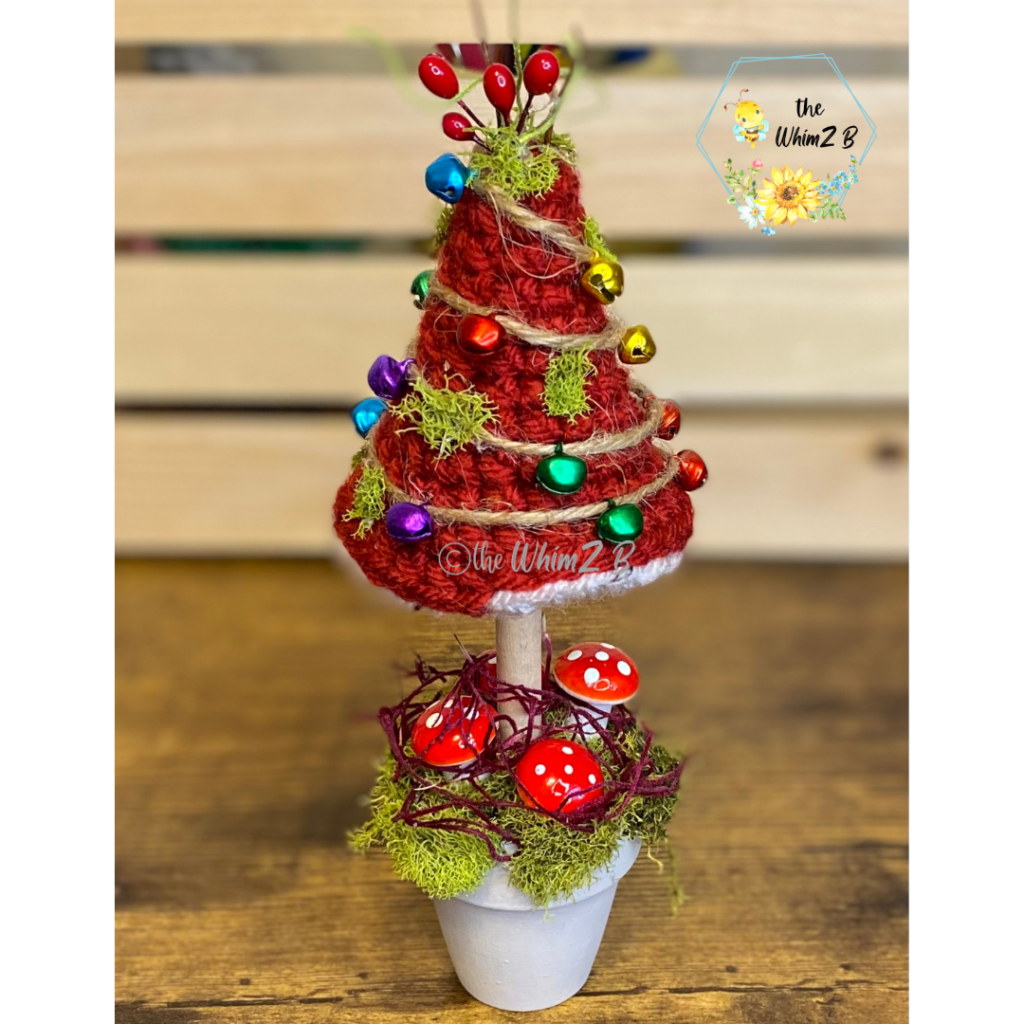
You may also enjoy making this little mushroom into a tiny potted Christmas Tree. Check out this post to see how I did it.
To see all the Free Crochet Patterns on my blog, click HERE.

Leave a Reply